I’ve had a pet peeve with adding images for, well, quite a while. But that pet peeve just went away, thanks to my fantastic dev team. This might not seem like a big deal but it will shave significant time off of my JibberJobber use.
Before yesterday, the only way to put an image on a Contact or Company was to go to the add/edit page, and then browse to your C: drive and upload it. Today there are new options (you can still do that option). Check this out (I’m using a Target Company as an example):
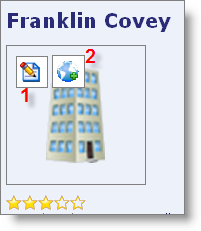
From the Company Detail Page, mouse over the company image area – in this case I haven’t put an image so I just see the default image of a building:
When you mouse over the image, you see two icons. The first icon is the standard EDIT icon, which brings up the “open” dialogue box from your C: drive…. very cool that you don’t have to go to the entire edit page anymore. This is pretty self-explanatory, so I’ll let you just figure this out on your own (it is very similar to how it has worked in the past).
The second icon is super cool – you can now simply put in the URL of the image from any website. I’ll show you how to do that below…
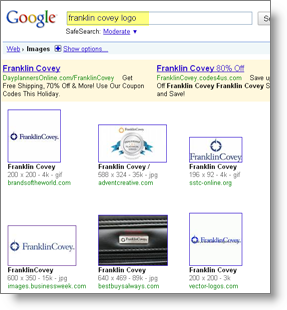
To get a good logo, I go to Images.Google.com. The reason I do this is because some corporate websites don’t have their logo as a distinct image (instead, it’s part of the background). I want a distinct image…
1. Go to images.google.com and search for Franklin Covey Logo, like this:
2. I click on one of these result pages… in this example I click on the one from BusinessWeek, and I get this page:
3. Now, RIGHT CLICK on the link the arrow is pointing to, and from the Right-Click options I choose “Copy Link Address” (or something like that – it is different with each browser). THAT LINK IS CRITICAL.
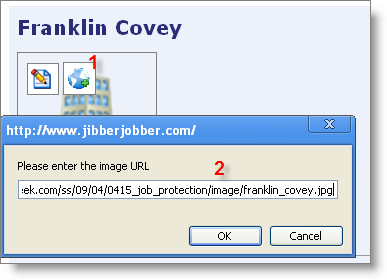
4. Next, go back to my Detail Page for the company, and click on the second icon … the one with a globe. When I click on that icon it opens a popup box where 5. I put the LINK that I just copied. You can see that I pasted it into the popup box.
5. Click the the OK button, and it takes that image and associates it with the contact record, which now looks like this:
That’s it!
I have dozens of contact records I’m going to do this for… I know this is simple but this is really going to streamline a process I’ve been spending too much time on… YEAH!!! So excited for this cool feature!



3 thoughts on “Fantabulous Update With Images”
Comments are closed.