In this blog post I dissect the page to add a new Contact, manually, in JibberJobber. I find myself adding Contacts more using Email2Log, but I do come into here regularly. Here’s what you need to know:
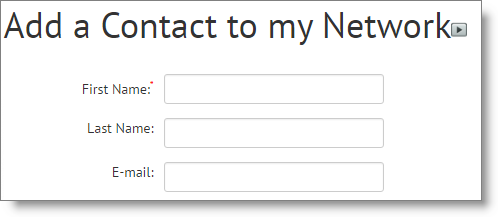
At the very top you’ll see the three most important fields… when I create a new Contact I always want to have a first and last name, and an email address. Having an email address allows me to use the Email2Log feature later, without creating duplicate Contacts. Note that you can create multiple email addresses for each Contact, which comes in handy.
Add the image of the person by uploading a file from your computer or from a URL. The way I do this from a URL is to right-click on the image and then choose the option to get the URL of the image. You’ll paste that into a box on JibberJobber, and we’ll go out and grab the image from the website (that’s pretty cool!).
The Referred By allows you to indicate who introduced you to this new Contact. This allows you to build the “Tree View” which is really cool!
Categories and Tags allow you to group your Contacts so you can later say “show me all of my friends,” or “show me all of the hiring managers” or something similar. We tend to favor Tags around here, since you can have multiple tags on each Contact.
Rank Contacts to know how strong the relationship is with each person in your network. This comes straight out of Never Eat Alone (Keith Ferrazzi), where Keith says you should know how strong the relationships are with each person.
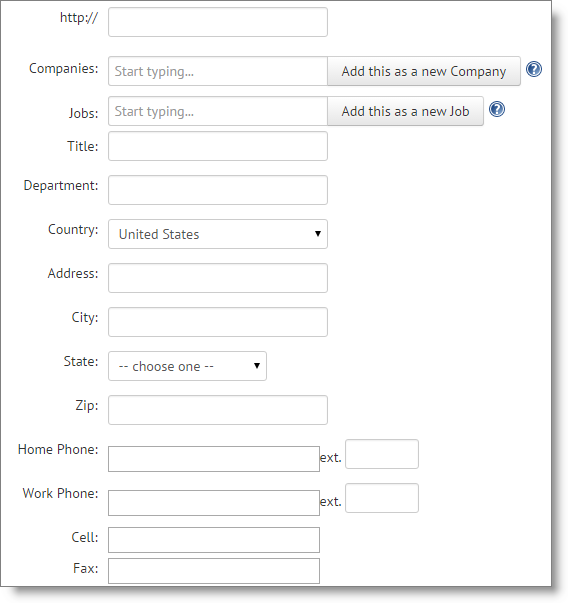
Most of these fields are intuitive. Note that you can add a Company or Job and if it’s already in your account in JibberJobber, we will associate this Contact to that record. You can also have multiple Jobs and Companies associated to a Company. If the Job or Company records don’t exist, type it in and then click either button to add those records (which will also associate the Contact to that/those records).
The Initial Contact is when you first met the person. I find myself clicking the Today button more than I thought I would, but you can back-date this easily.
The Source field allows you to put where you met this person (online, on LinkedIn, at a networking event, through an email introduction, etc.). It’s basically a help to put this Contact record into context, to remind you who this person is.
If you put the day and month of the birthday in, you can get email reminders of your Contacts when they have birthdays coming up.
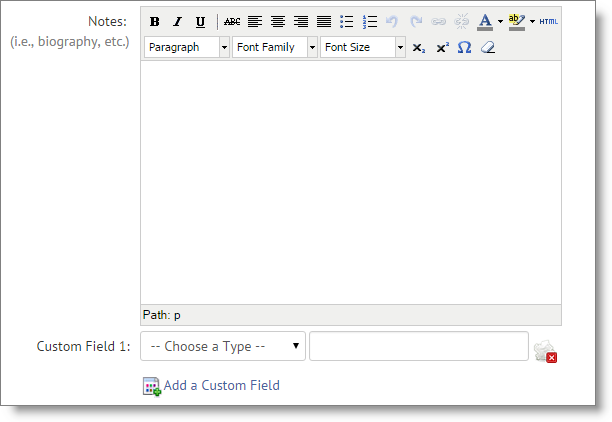
Notes is where you put general information about the Contact, but NOT Log Entry stuff. The differnce is this: Graduated from UCLA vs. We had lunch and talked about A, B, and C.
If you are looking for more fields, then just add your own. That’s what the Custom Fields are for… you can add as many as you want (although after 9+ years, I don’t have a whole lot that I actually use).


