So, here’s Part II of how to import, following up on creating the CSV. Note that this is a Premium features, but everyone can do this in the first 14 days (so do it right away!).
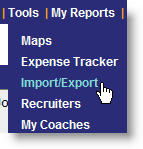
Go to Tools, click on Import/Export.
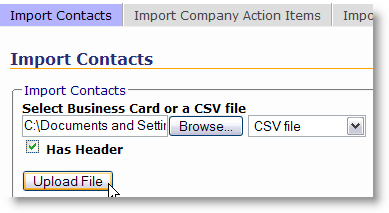
On the next page you’ll see that it defaults to the Import Contacts tab. Browse to the CSV file that you had created (maybe on your desktop?). If the file has a Header (I think all Outlook exports do) then click the Has Header box… you’ll see why on the next step.
The next screen has all of the data, and there are some import things to note here. First, any drop down that says “– Choose One –” WILL NOT import. So, perhaps the Middle Name field isn’t important, but make sure that the Title/Job Title fields are matched up! Scroll across the entire screen to see what you are actually going to import, and make sure it looks good before you click Import Contacts. Note, you are not done yet!
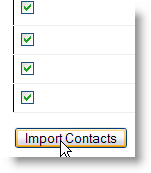
Once you are certain it all looks good you can click the Import Contacts button. Note that there are checkboxes on the left of each record (person). You can UNCHECK the ones that you don’t want to import.
You should have them all in your Network List Panel now. There, go invite someone to lunch 😉


